!WORD OF THE DAY!
Tips & Tutorials
Blog posts
-

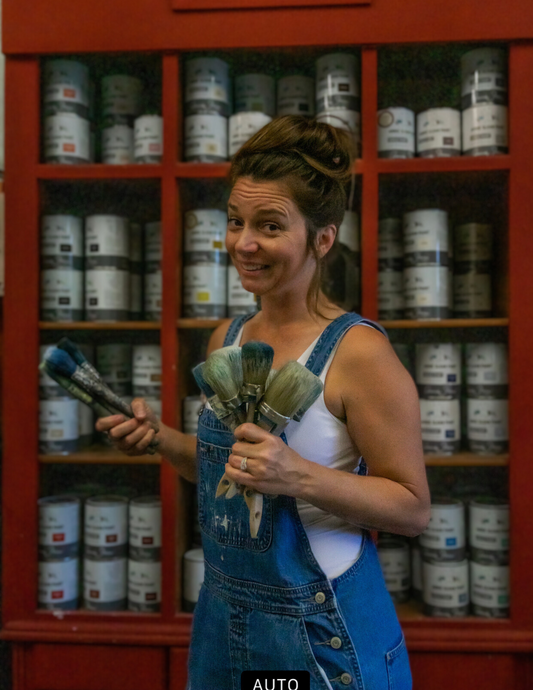
Spill The Paint...Episode 2
Navy Blue Minimalist Aesthetic Clean Elegant Modern Newspaper Blog Post Marketing Ad Your Story by Angie Halliwell
Spill The Paint...Episode 2
Navy Blue Minimalist Aesthetic Clean Elegant Modern Newspaper Blog Post Marketing Ad Your Story by Angie Halliwell
-